Worried your cake will slope, slide or shed crumbs? Here is how to level and layer a cake: slice off the domes, stack with a frosting dam and filling, then lock in crumbs with a crumb coat.
Once the layers are built, you can browse more easy cake and dessert recipes for ideas on what to bake next.
| Item | Value |
|---|---|
| Minimum number of layers | At least two layers |
| Layer count with the best proportion | Three layers |
| Scraper angle against the side of the cake | About 45 degrees |
| Minimum chill to set the crumb coat | At least 20 minutes |
| Longest chill before finishing | Up to 24 hours |
These figures come from Baker Bettie’s layer cake tutorial, an independent baking site. Methods and timings can change, so check the source before you rely on them.
What you need before you start
A tidy cake is mostly a matter of order: bake, cool, level, fill, crumb coat, chill, then finish. The method below follows the beginner tutorial linked above and works with any cake, frosting or filling you like.
Gather a short kit before you begin:
- A serrated knife for levelling, or a cake leveling tool if your layers are thick and need splitting.
- A piping bag for the frosting dam and for patching holes later.
- A scraper and a turntable for smooth sides.
- A separate bowl for any frosting that picks up crumbs.
- Room in the refrigerator for the cake to chill.
The one rule that comes before everything else is to let the baked layers cool completely. Do not level, fill or frost a layer that is still warm.
Which cake, frosting and filling should you use?
You can build a layer cake from any recipe you like. The tutorial’s author likes at least three layers because the ratio looks best, and suggests chiffon, classic sponge, rich chocolate or red velvet; see the full tutorial.
If you want layers to practise on, the guide to how to make vanilla cake from scratch is a sensible place to begin. The tutorial’s own chiffon cake bakes into three 8-inch layers or two 9-inch layers, so a recipe that fits your pans is a good match, as the source notes.
Choosing a frosting
Buttercream is the most common frosting for a layer cake. American buttercream crusts over quickly and is difficult to get very smooth, so expect a slightly rustic finish.
For a perfectly silky cake, the tutorial recommends swiss meringue buttercream or italian meringue buttercream. These styles do not crust over the way American buttercream does.
Choosing a filling
You can use the same frosting between the layers, or switch to something different. Changing the filling is an easy way to create a new flavour.
- Jam
- Curds
- Whipped cream
- Fresh fruit
- Pastry cream
If a creamy filling appeals, the guide on how to make custard covers a closely related technique. Whatever you pick, a frosting dam (covered below) keeps it where it belongs.
How to level the cake layers
Levelling means trimming the rounded top of each layer so the cake stacks flat. Cakes often bake with a dome in the middle, and a domed layer makes a wobbly tower.
- Make sure the layers are completely cool.
- Hold a serrated knife horizontally, resting on the edges of the cake layer.
- Seesaw the knife back and forth to cut off the dome.
- Repeat on each layer, keeping the knife level as you go.
The scraps make a good snack while you build. If your layers are thick and you want to split them in half, a cake leveling tool can help, though the tutorial’s author still reaches for a serrated knife.
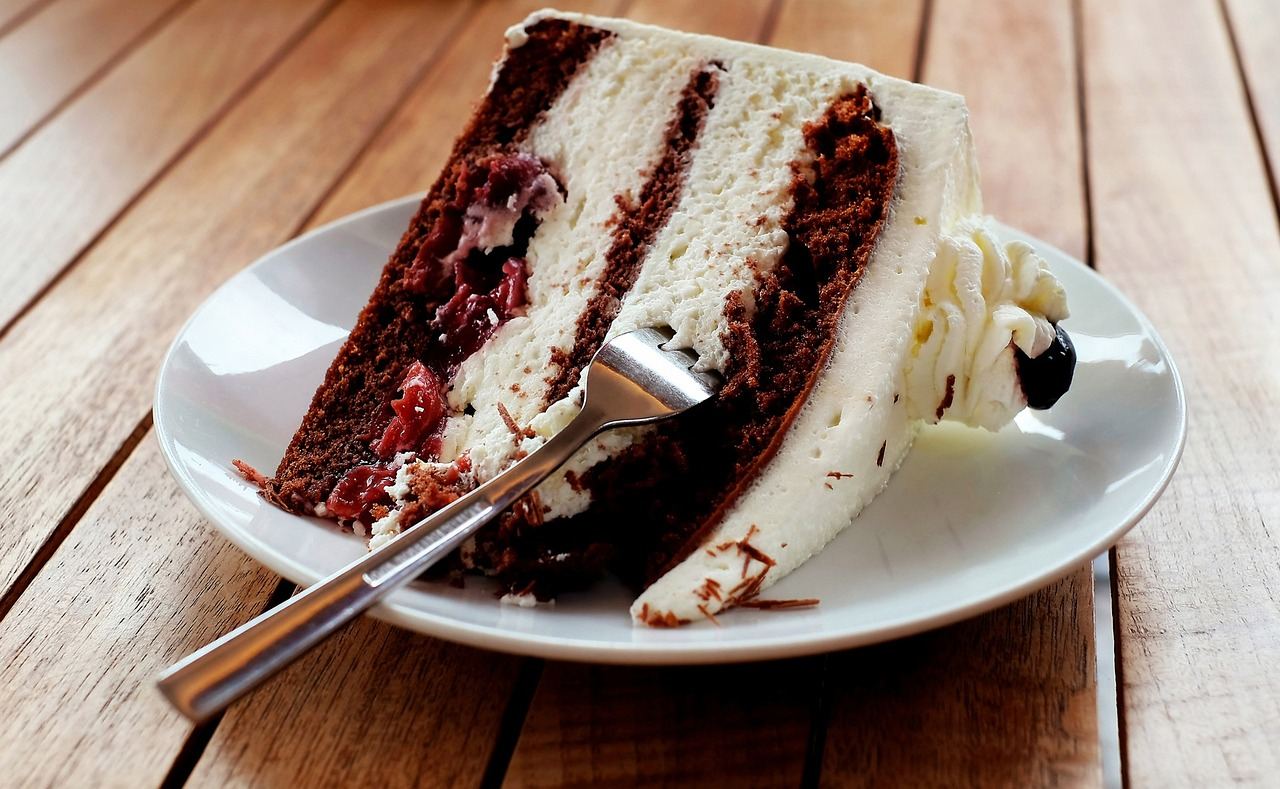
How to fill and stack the layers
Filling is where a stack of cake becomes a layer cake. The key is a dam of frosting piped around the edge, which holds soft filling in.
- Pipe a thick dam of frosting around the edges of the first layer.
- Add your filling to the centre of the dam, or more frosting if you are not using a filling.
- Spread the filling out evenly.
- Place the next layer on top, upside down, and press down gently to secure it.
- For a taller cake, pipe another dam and add filling to that layer too.
- Place the last layer on top, upside down.
Placing each layer upside down helps keep the cake level and even, because the flat bottom of the layer becomes the top. You can even use a different filling on each layer if you like.
Finish by looking at the cake at eye level. Check that every layer is centred before you move on to frosting.
How to crumb coat and chill the cake
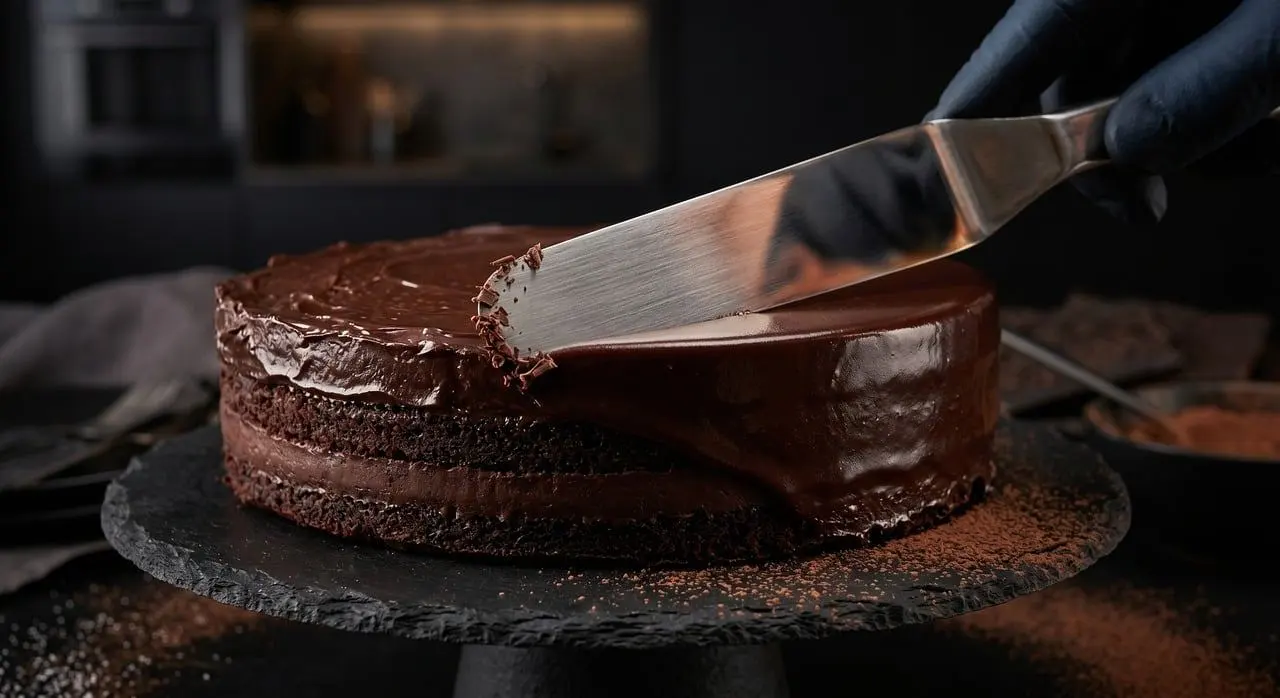
The crumb coat is the first coat of icing on a cake. Its job is to lock in the crumbs so the final coat can look smooth and clean.
- Pipe a thick layer of frosting all around the outside of the cake.
- Hold a scraper vertically against the side of the cake, at about a 45 degree angle.
- Keep the scraper still and spin the turntable toward you, scraping off most of the frosting.
- Add frosting to the top and scrape that off too.
At this point the cake looks like a naked cake, and you could stop here if you like that style. Scrape the excess into a separate bowl from your clean frosting, because it will hold crumbs. The crumb-flecked frosting is fine for the top, since that coat sits under the final one.
Next, let the cake chill so the crumb coat sets. The tutorial says this takes at least 20 minutes in the refrigerator, and the cake can wait there for up to 24 hours depending on when you want to finish decorating, per the source.
Applying the finishing coat
Start the finishing coat the same way as the crumb coat: pipe a thick layer of frosting around the sides and smooth it with the scraper. This time use lighter pressure, because you want to leave a nice coat of frosting on the cake rather than pull too much off.
After the first pass you will probably see a few holes and imperfections. Use the piping bag to patch them, then smooth again with the scraper, as many times as you need.
For the top, add a thick layer of frosting and spread it out. Hold the scraper steady against the top and turn the turntable toward you, dragging the frosting toward the centre.
Once the finishing coat is done, add decorations. The tutorial uses a border of sprinkles pressed lightly into the frosting at the bottom and a simple piped border around the top.
Frequently asked questions
How many layers should a layer cake have?
Show answer
You need at least two layers, and you can stack as many as you like. The tutorial’s author thinks three layers is the best proportion, according to the source.
What is the best tool for levelling a cake?
Show answer
A serrated knife held horizontally and used with a seesaw motion works well. A cake leveling tool is an option if your layers are thick and need splitting in half.
How long should a crumb coat chill?
Show answer
Allow at least 20 minutes in the refrigerator for the crumb coat to set. The cake can stay chilled for up to 24 hours before you add the finishing coat, per the source.
Why can’t I get my frosting perfectly smooth?
Show answer
American buttercream crusts over quickly and is difficult to get very smooth. Swiss meringue or italian meringue buttercream do not crust over the same way and give a silkier finish.