Worried bread baking is too hard or too messy? Here’s a no knead bread recipe that does the work for you: mix a wet dough, let it rest overnight, then bake it in a hot covered pot.
This loaf is one of many in the bread and pastry baking guide.
| Item | Value |
|---|---|
| Flour | 4 cups all-purpose or bread flour |
| Water | 2 cups, about 70°F |
| First rest | About 18 hours at room temperature |
| Oven temperature | 450°F |
| Bake time | 30 minutes covered, then 20 to 30 minutes uncovered |
| Internal temperature when done | 200°F or more |
These figures come from the version published on The Bittman Project. Recipes and timings differ between sources and can change, so check the source before you rely on them.
Why does no-knead bread work?
Kneading is normally how bakers build structure in dough. Here, time does that job: according to The Bittman Project, “a wet dough and slow fermentation are the keys to success” and they take the place of kneading.
The method comes from Jim Lahey, the owner of Sullivan Street Bakery in New York City. Mark Bittman and Lahey shared it in the New York Times in 2006, as the same page explains.
The dough is also wetter than usual. The Week notes that this style of recipe uses 30 percent to 50 percent more liquid than most recipes that require kneading.
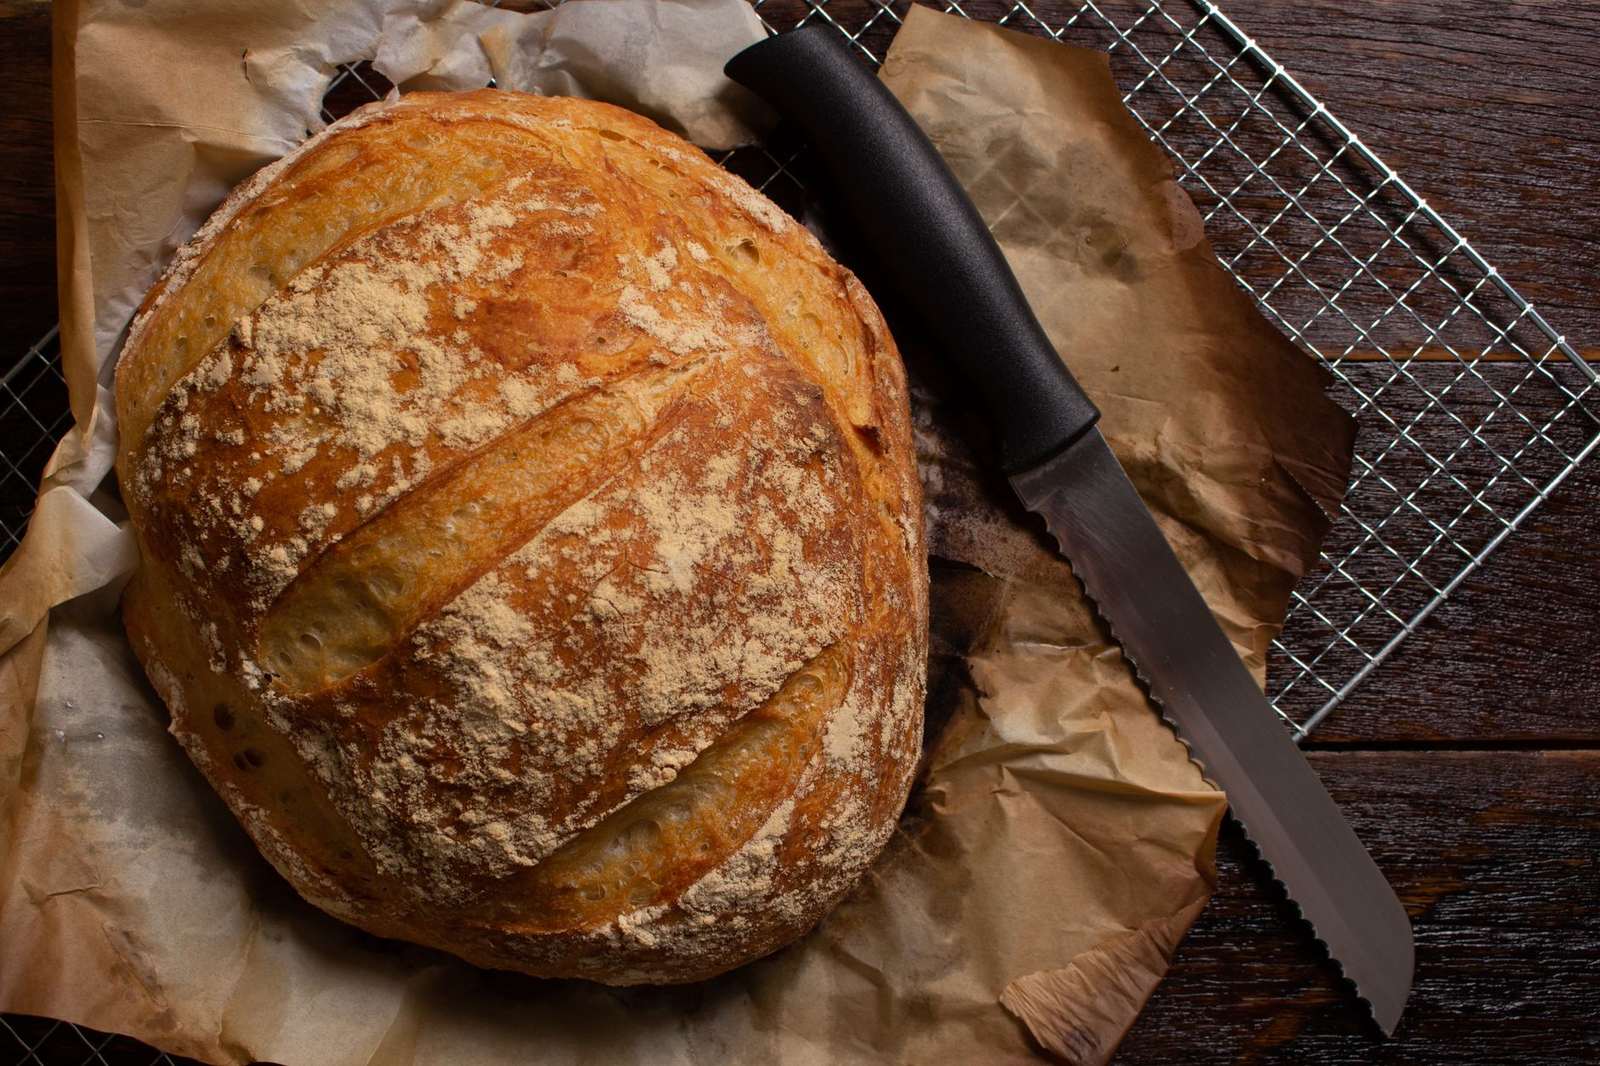
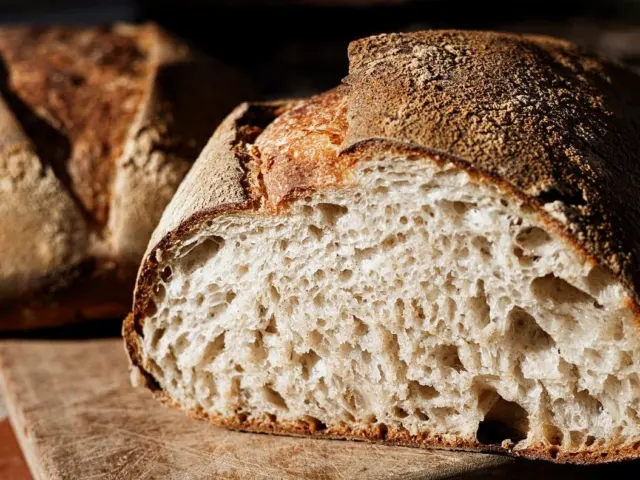
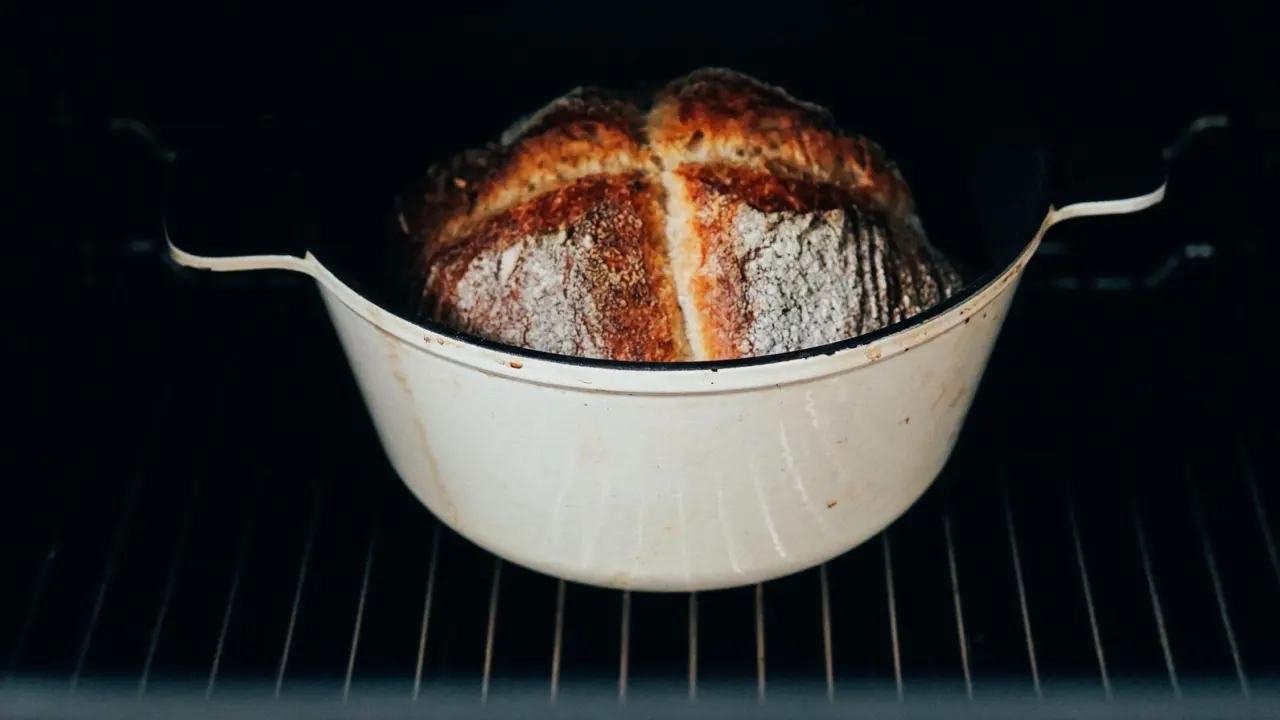
The last piece is the pot. A heated covered pot works as an oven within an oven, trapping steam as the bread bakes, which helps give the crust its crackle.
What you need
The amounts below follow the recipe on The Bittman Project, which makes 1 large loaf.
- Flour: 4 cups all-purpose or bread flour, plus more as needed.
- Yeast: scant 1/2 teaspoon instant yeast.
- Salt: 2 teaspoons.
- Water: 2 cups, about 70°F.
- Dusting: cornmeal, semolina or wheat bran.
- Pot: a 3- to 4-quart covered pot that can take the oven heat: cast iron, enamel, Pyrex or ceramic.
- Towel: a cotton kitchen towel, not terry cloth.
Other versions scale things differently. Love and Lemons uses 3 cups bread flour with 1 1/2 cups water, so treat the dough’s stickiness as your guide rather than a single exact ratio.
That same page prefers bread flour because the bread comes out slightly less dense, with a lighter, chewier texture. If you doubt your yeast is fresh, read how to proof yeast first: here is a short guide on how to proof yeast.
Step-by-step method
Read the whole list once before you begin. The quantities and times come from The Bittman Project.
- Mix. Combine the flour, yeast and salt in a large bowl. Add 2 cups of water at about 70°F and stir until you have a shaggy, sticky dough, adding a little more water if it seems dry.
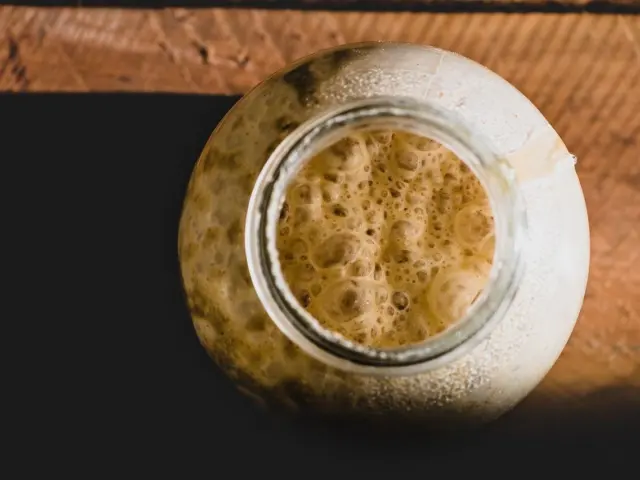
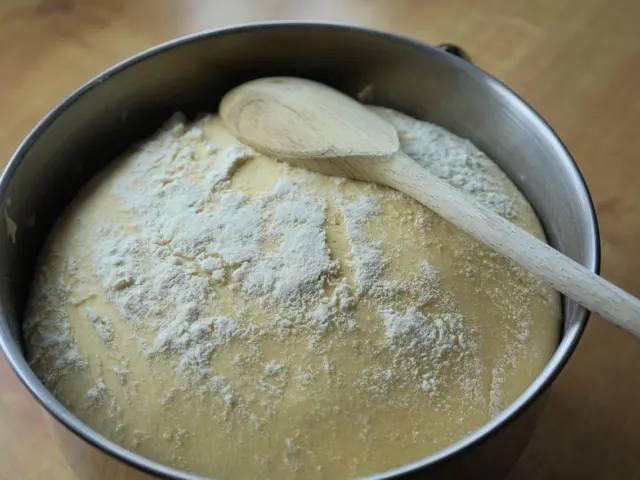
- Rest. Cover the bowl and leave the dough for about 18 hours at room temperature, until the surface is dotted with bubbles.
- Fold. Tip the dough onto a lightly floured surface and fold it once or twice. Cover loosely and let it rest for about 15 minutes.
- Shape. Gently and quickly shape the dough into a ball. Set it seam side down on a cotton towel coated with cornmeal, semolina or wheat bran, dust the top, cover it and let it rise for about 2 hours.
- Preheat. At least a half hour before the dough is ready, heat the oven to 450°F and put the covered pot in to heat with it.
- Bake. Carefully lift out the hot pot and turn the dough into it, seam side up. Bake covered for 30 minutes, then uncovered for another 20 to 30 minutes, until deeply browned.
- Cool. Move the loaf to a rack and let it cool for at least 30 minutes before slicing.
Do not worry if the dough lands in the pot looking untidy. The source says it is messy and will not fall in artfully, but it straightens out as it bakes.
How do you know the dough is ready?
Watch the dough, not only the clock. At the end of the long rest, Bittman’s version says the dough is ready when its surface is dotted with bubbles.
For the second rise, the dough should be more than doubled in size and should not spring back readily when poked. Lovefood gives a clear test: a gentle poke leaves an indentation about ¼ inch deep, and the dough should hold that impression.
For the bake, look at color and temperature. The loaf should be beautifully browned, and the source says its internal temperature should be 200°F or more. If the dough starts to smell scorched at any point, lower the heat a bit.
Timing, shortcuts and variations
The long rest is flexible. Bittman’s page says to start the dough about 24 hours before you plan to eat it, though shorter rests give up some of the yeasty flavor and open crumb. See The Bittman Project for the full note.
- Standard: about 18 hours for the first rest.
- Flexible window: Love and Lemons lets the dough rest in a warm spot for 12 to 24 hours, until the surface is dotted with bubbles.
- Faster loaf: reduce the first rise to 8 hours and skip the 15-minute rest, as in the variation on The Bittman Project.
- Whole wheat: swap whole wheat flour for up to 2 cups of the all-purpose flour, per the same variation.
If you later want a loaf that leavens naturally, the next step is to learn how to make sourdough starter.
Troubleshooting and storing your loaf
Most problems come down to impatience. Lovefood says not to slice or tear into the bread until it has cooled, which usually takes at least an hour.
- Dense loaf: be gentle with the dough after the long rest. Love and Lemons warns not to punch it down.
- Dough sticks to the towel: use a cotton towel, not terry cloth, and coat it generously with cornmeal, semolina or bran.
- Crust too dark: lower the oven heat a little if the dough smells scorched.
For storage, the same Love and Lemons page says an airtight container at room temperature works for up to two days. You can also slice and freeze what is left, then toast the slices later.
Frequently asked questions
Do I really not need to knead at all?
Show answer
Correct. The long, wet rest develops the dough, and you only fold it once or twice before shaping, as The Bittman Project describes.
Can I use all-purpose flour instead of bread flour?
Show answer
Either works in the recipe on The Bittman Project, which calls for all-purpose or bread flour. Love and Lemons prefers bread flour because the bread comes out slightly less dense.
What if I don’t have a Dutch oven?
Show answer
Use any heavy covered pot made of cast iron, enamel, Pyrex or ceramic. The Bittman Project suggests a 3- to 4-quart pot, while The Week prints a 6- to 8-quart pot, so sizes vary by source.
How do I know the bread is done?
Show answer
Look for a deeply browned crust and an internal temperature of 200°F or more, per The Bittman Project.
How long does it keep?
Show answer
Love and Lemons says it keeps in an airtight container at room temperature for up to two days, and that sliced leftovers can be frozen.