Not sure how to knead bread dough without a sticky mess? Press, fold and turn for about 10 minutes by hand, until the dough passes the windowpane test.
Browse the bread and pastry baking guide for more dough techniques beyond kneading.
| Item | Value |
|---|---|
| Typical hand-kneading time | 8 to 10 minutes, up to 15 |
| Windowpane recheck while kneading | Every 3 or 4 minutes |
| French Fold session | 15 to 30 minutes |
| Stretch and Fold session | 10 to 30 minutes |
| Hydration split between the two folds | 65% |
| Rest if the dough feels tight | 5 minutes |
These figures come from the Nielsen-Massey hand-kneading guide and the Feast and Farm kneading guide. They can change, so check the source before you rely on them.
Why does dough need kneading?
Kneading dough builds the gluten strands in flours that contain it, as the Feast and Farm guide explains. That gluten forms the frame that traps the carbon dioxide yeast makes in small air pockets.
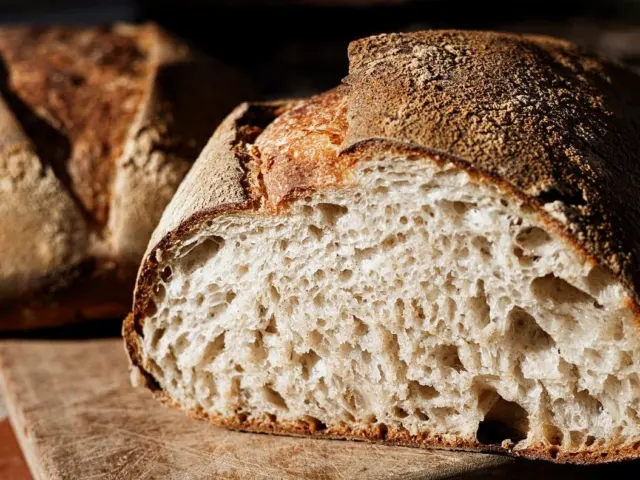
If the gluten is not built up enough, the dough will not have good air bubbles. It will be dense or may not rise well.
The flour you pick matters too. Bread flour has the highest gluten content, while all-purpose flour is lower in gluten, so the rise is not quite as high or the crumb quite as light, per Feast and Farm. Rice flour, tapioca and bean flours have no gluten, so kneading them does nothing useful.
Kneading by hand has a practical benefit for beginners. Nielsen-Massey says it makes it virtually impossible to over-knead, and Feast and Farm calls it pretty hard to do by hand. Stand mixers are a different story, so learning the feel of good dough by hand first is a sound habit.
Push, fold and turn: the basic method
You need very little equipment to start. Set out these four things before you touch the dough:
- Your mixed dough, rested as the recipe directs
- A dough scraper or bench scraper
- A clean, dry countertop
- Clean, dry hands
Flour is the first decision. Feast and Farm lightly flours the surface with 1 tablespoon of flour and dusts only as needed afterwards. The goal is just enough flour to stop sticking.
Then work through the motion below. It suits most doughs, from loaves to rolls to pizza.
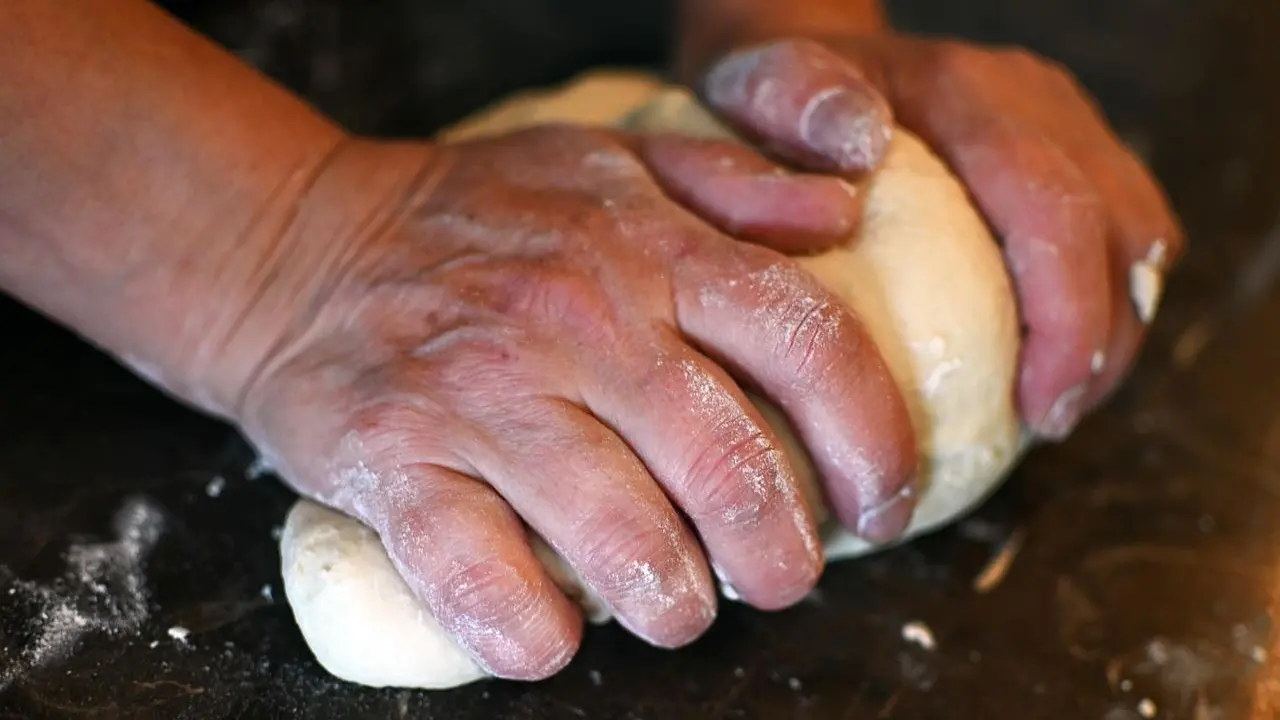
- Scrape the dough out of the bowl onto the lightly floured surface. Use a cupped hand with closed fingers rather than squishing the dough between your fingers.
- Dust the top of the dough with a small sprinkle of flour.
- Use the heel of your hands to press the dough away from you, lightly. You are pressing only part of the way through its thickness, not smashing it to the table.
- Give the dough a quarter turn. It does not need to be exact.
- Fold the top of the dough over the bottom, then push it away again.
- Keep repeating, dusting the board and your hands lightly as needed, until the dough passes the windowpane test.
Rhythm beats force here. If you smash the dough too hard, it sticks heavily to your hands, which tempts you to add more flour. By hand, Feast and Farm puts the total at about 10 minutes or so, and the same guide notes most breads need 8 to 10 minutes, even 15.
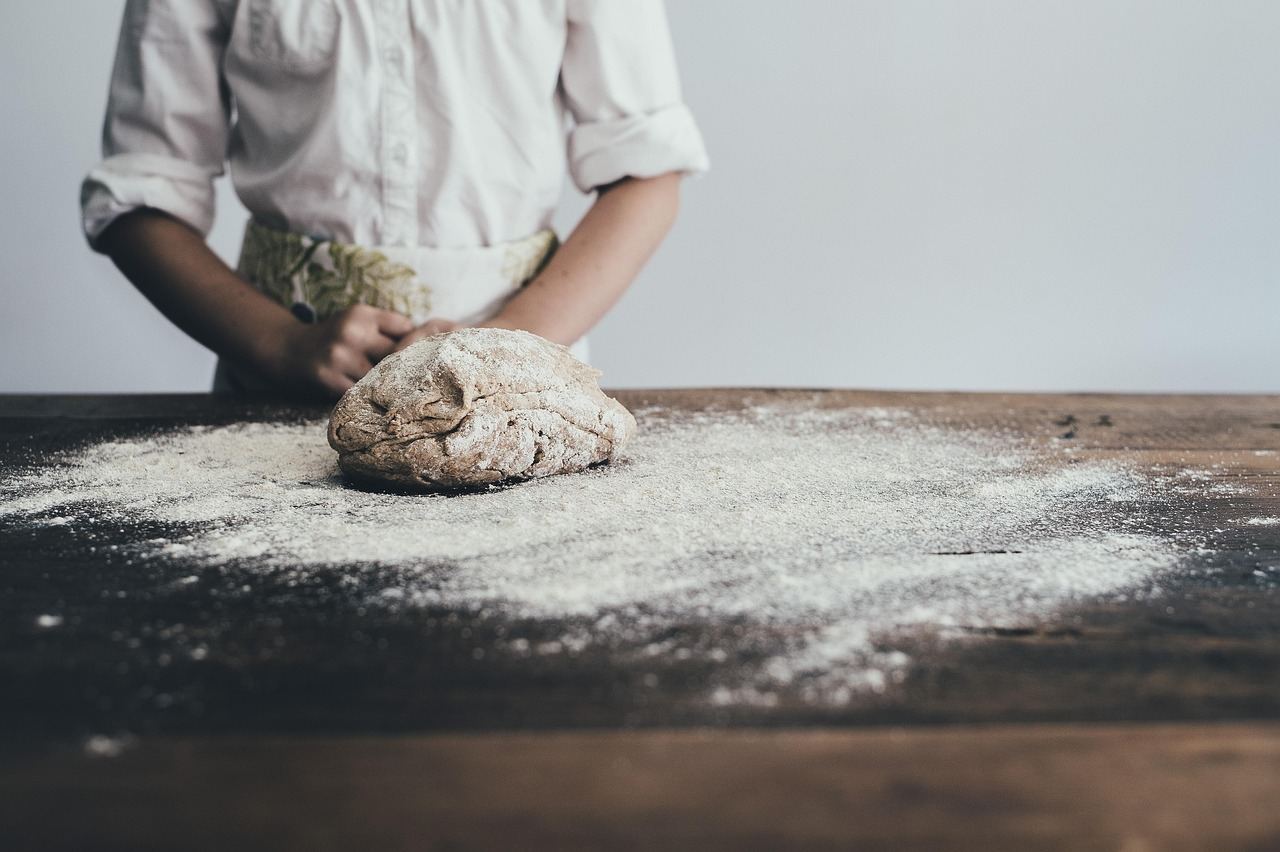
Your dough will look smoother after kneading than it did going in. That change, from rough and shaggy to smooth, is the first visual sign you are on track.
French Fold and Stretch and Fold for wet or sturdy dough
Two other hand techniques suit different doughs. Nielsen-Massey says the French Fold takes advantage of the stickiness of wet doughs, which usually have a hydration of over 65%. The Stretch and Fold is best for sturdier doughs under 65% hydration.
Both methods skip the flour. Place the dough on a clean, dry countertop and do not flour it first.
French Fold, for wet and sticky dough
- Remove the dough from the bowl with a bench scraper and place it on the dry counter.
- Grab the right side of the dough with both hands, fingers under the dough and thumbs on top.
- In one motion, pick up the dough, rotate it 90°, flip it towards you and gently slap it down so one half sticks to the counter (Nielsen-Massey).
- Gently stretch the half you are holding upwards and fold it away from you, over the half stuck to the counter.
- Repeat for 15 to 30 minutes, rotating the same direction each time, until the dough is smooth and fully kneaded.
Stretch and Fold, for firmer dough
- Remove the dough from the bowl with a scraper and place it on a clean, dry countertop.
- Use one hand to hold down the side of the dough closest to you.
- With the other hand, grab the other half and stretch it away from you.
- Fold the dough toward you, back on top of itself, and rotate it 90° (Nielsen-Massey).
- Repeat for 10 to 30 minutes, rotating the same direction each time, until the dough is smooth and fully kneaded.
How do you know when dough is kneaded enough?
Recipe language such as “smooth and supple” is vague. The windowpane test lets you see how strong the dough is, according to a King Arthur Baking guide.
Grab a hunk about the size of a ping pong ball and flatten it between your fingers. Let it rest for a couple of minutes, flatten it some more, then gently pull on opposite ends to stretch out the middle. If the dough stretches so far you can see light through it, you have achieved the windowpane.
A bakery cookbook gives a more precise version. It says to cut a 1-by-2-in [2.5-by-5-cm] section of dough and stretch it slowly in each direction between thumbs and index fingers, as shown in this excerpt. If it rips quickly, knead for another minute or two and test again.
Do not wait until the end to check. Feast and Farm suggests rechecking every 3 or 4 minutes, and says flours with more gluten reach windowpane faster than lower-gluten ones.
Other cues back up the test:
- The dough looks smooth instead of rough and shaggy.
- It holds its shape.
- When you poke it, the indent fills in quickly.
- A small piece stretches into a thin membrane you can see light through.
If the poke leaves an indent that stays for a long time, Nielsen-Massey advises you to keep kneading to develop the gluten.
Fixing common kneading problems
Most kneading trouble comes down to three things: too much flour, a dough that fights back, or a dough that is not ready yet.
Too much flour is the biggest one. Feast and Farm says you should never be adding a cup of flour during kneading, because the dough turns tough and dense with a hard, thick crust that peels away after baking. Dust just enough to reduce sticking, and expect the stickiness to ease as the gluten builds.
If the dough feels tight and resists stretching, let it rest. Nielsen-Massey recommends five minutes before continuing, which relaxes the gluten and helps the baked texture.
If the dough breaks when you stretch it, it is probably under-kneaded, because the gluten is not well developed. Keep kneading and test again.
Once the motion feels natural, put it to work. Yeasted rolls use the same method, so a good next bake is how to make cinnamon rolls: see how to make cinnamon rolls for a soft, kneaded dough. For a contrast with a dough that is handled very differently, try the choux pastry recipe.
Frequently asked questions
How long should you knead bread dough by hand?
Show answer
Most breads need 8 to 10 minutes, even 15, of hand kneading, according to Feast and Farm. The time depends on the flour, how wet the dough is and how firmly you knead. Use the windowpane test rather than the clock.
Can you over-knead dough by hand?
Show answer
It is very unlikely. Nielsen-Massey says it is virtually impossible by hand. If the dough turns tight and tears, rest it for five minutes before you go on.
Should you flour the counter?
Show answer
It depends on the method. The push, fold and turn method uses a light dusting, such as 1 tablespoon to start, per Feast and Farm. The French Fold and Stretch and Fold methods use a clean, dry, unfloured counter.
What if the dough tears during the windowpane test?
Show answer
A quick tear means the gluten needs more development. Knead for another minute or two, then test again, as the ckbk excerpt advises.
Can you knead gluten-free flours?
Show answer
No. Feast and Farm notes that rice flour, tapioca and bean flours have no gluten, so kneading them will not build structure.